Your pool is down two inches and you’re trying to work out whether that is a Texas August doing what a Texas August does, or whether something under the deck is quietly running your water into the ground. There’s a definitive test for this, it costs nothing, it takes 24 hours, and almost nobody runs it before calling someone. Here is the test, plus how to read the answer well enough to point a technician at the right place.
What normal loss looks like here
A commonly used rule of thumb is a quarter inch of evaporation a day. That figure comes from milder conditions than ours. In a North Texas July, with afternoons near or past 100 degrees, low humidity, wind, and a deck radiating heat back at the water all evening, half an inch a day is ordinary and more than that isn’t remarkable.
Put that in gallons, because inches are what alarm people and gallons are what explain the water bill. A 15-by-30-foot pool has 450 square feet of surface. A quarter inch off that is about 70 gallons. Half an inch is about 140 gallons a day, near a thousand gallons a week, and none of it means anything is wrong.
Worth knowing before you worry about the bill: replacing evaporative loss is treated differently from irrigation. The City of Plano states that a variance isn’t required to fill a pool, and its twice-weekly schedule governs sprinklers rather than pools. Several things push that number up legitimately:
- Water features. A spa spillway, a waterfall, or a deck jet increases evaporation substantially, because it’s atomizing water into hot dry air on purpose.
- Wind. An open, unfenced yard loses far more than a sheltered one. Wind strips the humid layer off the surface and lets the next batch evaporate.
- Heating. Warm water evaporates faster, and evaporation is the single largest route by which a heated pool loses its heat.
- Swimmers. Splash-out is real loss. A weekend with children in the pool moves a surprising amount of water onto the deck.
- Backwashing. If you have a sand or DE filter, every backwash sends pool water to waste by design. Cartridge filters don’t do this.
Turn the autofill off before you do anything else
An autofill leveler exists to top your pool up without you noticing, and it does that job just as diligently for a leak as for evaporation. Pools have run leaks for entire seasons in this area with nobody the wiser, because the only symptom was a water bill that crept up. If you suspect a leak and you have an autofill, close its valve first. Every diagnosis below depends on it.
The bucket test
This is the standard test, and it works because it puts a control sample of water in the same air, the same sun, and the same temperature as the pool. Whatever evaporation is doing to your pool, it’s doing to the bucket.
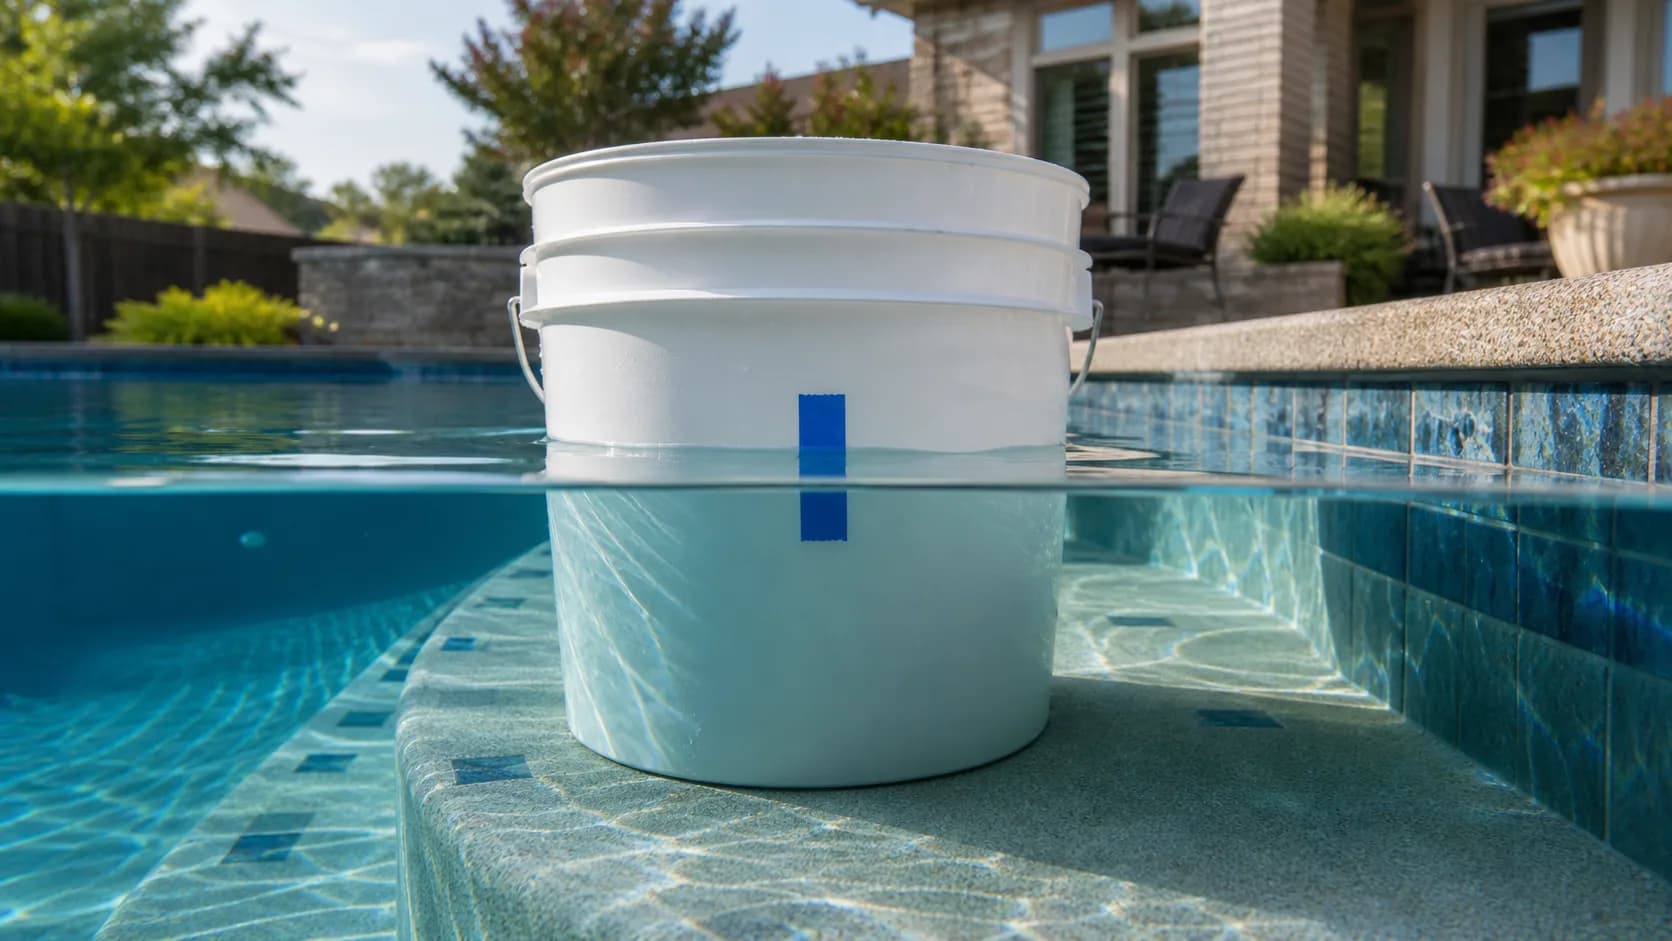
- Fill a clean five-gallon bucket with pool water to about an inch below the rim. Pool water, not hose water, so the temperature matches.
- Set it on the second step of the pool so it’s partly submerged and the water inside sits at roughly the same level as the water outside. Weight it with a brick if it wants to float. If your steps won’t take it, the deck works, but the step is better because the temperatures match more closely.
- Mark both levels.A strip of tape on the inside of the bucket at the water line, and a second mark on the outside of the bucket at the pool’s water line. A grease pencil on the tile works too.
- Turn off the autofill and leave the pump on its normal schedule. Keep everything else exactly as it usually is.
- Wait 24 hours, then compare. Do not swim, and if it rains hard, start over.
- Read the result. Both dropped by the same amount means evaporation and your pool is fine. The pool dropped noticeably more than the bucket means you have a leak.
Run it twice and learn twice as much
Do the test once with the pump running its usual schedule, then repeat it with the pump off for the full 24 hours. Comparing the two results narrows the search dramatically, which is the next section. Two days of doing nothing can save a technician an hour of hunting, and you paid nothing for it.
Reading where the leak is
A leak that behaves differently depending on whether the pump is running is telling you something specific about which part of the system is compromised.
| Pattern | Most likely location |
|---|---|
| Loses more with the pump running | Pressure side: return lines, return fittings, or the plumbing after the filter, which is only under pressure while the pump runs |
| Loses more with the pump off | Suction side, or a leak in the shell itself, which drains by gravity all the time |
| Loses the same either way | Structural, or a fitting that leaks regardless of pressure |
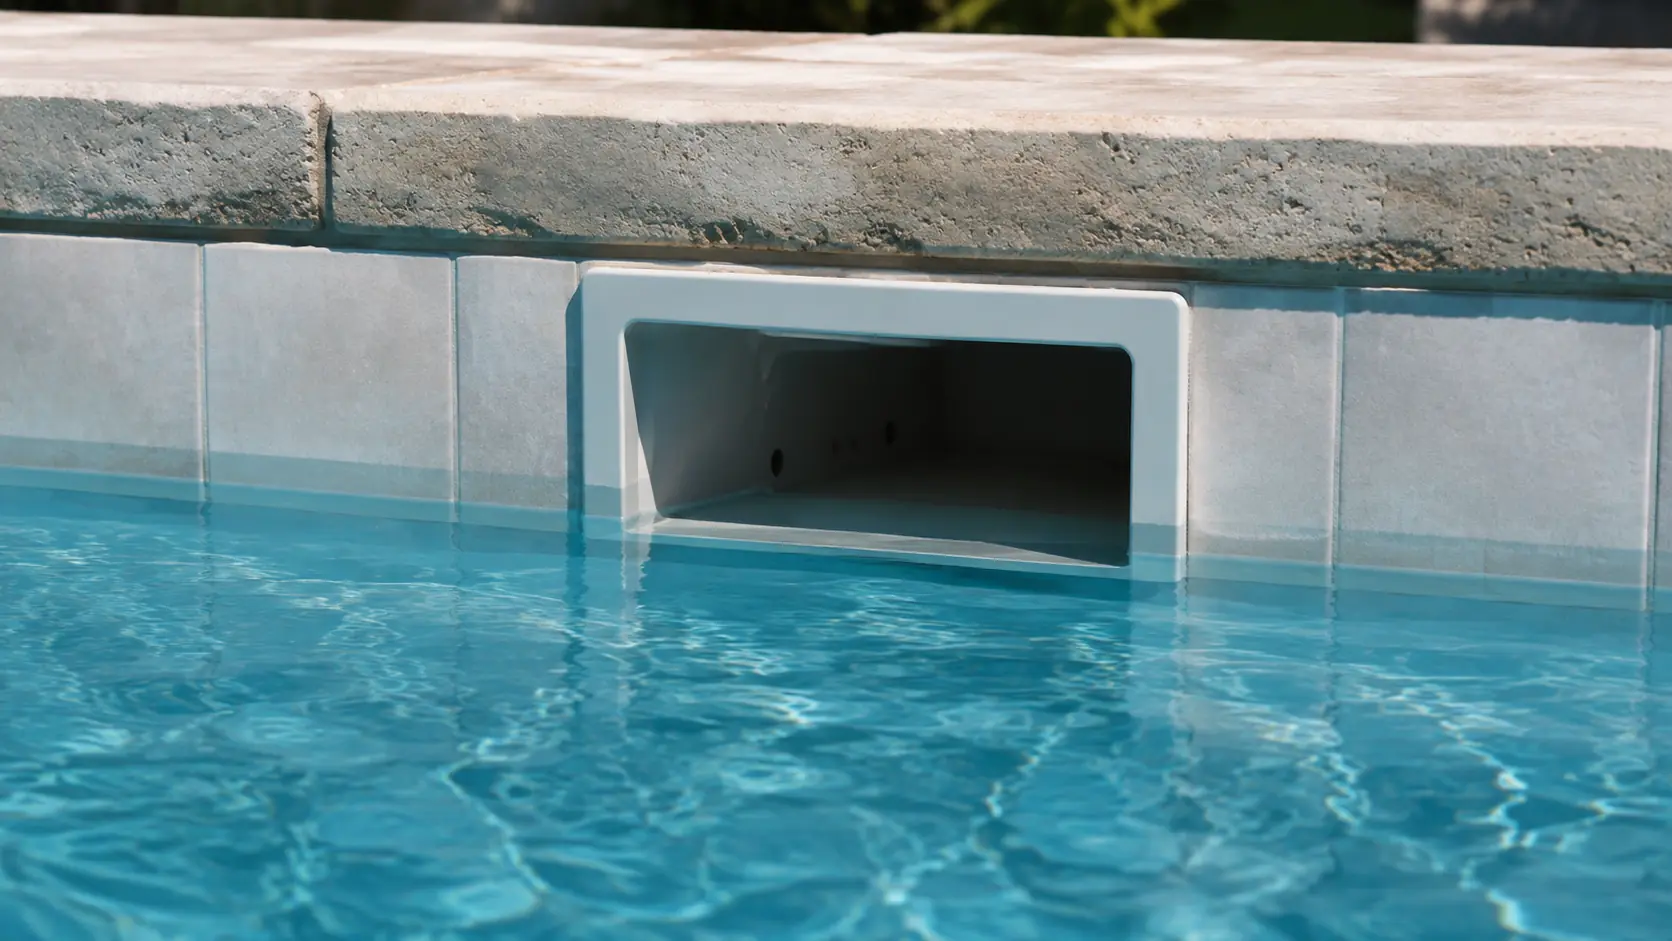
| Stops dropping at the skimmer mouth | Skimmer throat or the joint where the skimmer meets its plumbing, a very common failure |
| Stops dropping at a light | Light niche or the conduit running out of it |
| Stops at a tile line or a step | A crack or a failed fitting at that level |
Those last three rows are the most useful ones on the whole page: where the water stops falling is where the leak is. Water only drains down to the level of the hole. If your pool loses six inches and then holds steady for days, look hard at whatever is at that depth. If it keeps going below every fitting, the leak is in the shell or in a main drain line.
Other things worth noticing
- Air in the system. Bubbles coming out of the returns, air collecting in the pump basket, or a pump that keeps losing prime all point to a suction-side leak, because the same defect that lets air in while running lets water out while off.
- A wet or unusually green patch in the yard. Underground plumbing leaks have to go somewhere. A strip of grass that stays lush through a drought is a clue.
- Settling or cracking deck. Water washing soil out from under a deck moves the deck.
- Puddles at the equipment pad. The easy case. Check the pump lid o-ring, the drain plugs, and the filter clamp before assuming anything is buried. Placing it precisely is its own short procedure, in whether the leak is at the pad or in the shell.
- Chemical demand that won’t settle. Water that leaves takes its chemistry with it, and fresh fill water arrives with none. A pool that seems to eat chlorine and stabilizer for no reason is sometimes just a pool that is being partly replaced every week.
- The water bill. The most reliable early indicator most homeowners have, and the one they usually notice two months late.
Why leaks happen here specifically
North Texas is unkind to buried pool plumbing for two reasons that have nothing to do with build quality.
The first is our soil. Expansive clay swells when it takes on water and shrinks hard when it dries out, and it does both every year. That movement works on rigid PVC, on the joints between the shell and its fittings, and on the deck. It’s the same soil behavior that cracks foundations across the Metroplex, applied to plumbing that nobody inspects.
The second is freeze damage, which shows up on a delay. Water left in a pipe or a fitting during a hard freeze expands and splits it, and often that split doesn’t become a visible leak until the system is under pressure again in spring. A pool that started losing water in April is frequently a pool that was damaged in January. The prevention side of that is in our freeze protection guide, and it’s the reason we push year-round circulation rather than closing a pool for winter here.
A leak isn’t only a water problem
Continuously replacing pool water with fresh hose water adds a load of dissolved minerals every time, and none of them leave. On a slow leak running through a whole summer, that drives calcium hardness up faster than normal evaporation ever would, which shows up later as scale on the tile and a shortened salt cell life. Owners often fix the leak and then wonder why the water still behaves oddly. The two are connected.
If you fill from a well, the same mechanism delivers iron rather than just calcium, and it arrives invisible and leaves rust-brown streaks on the plaster the next time the pool is shocked. That one is covered in metal stains in pool water.
What you can check, and where it becomes our job
The bucket test, the pump-on versus pump-off comparison, the stop-level observation, and a walk around the equipment pad are all safely within reach and they’re the most valuable information anybody will gather on this problem. Do those first.
A dye test is the next step and is also doable, with a caveat. With the pump off and the water perfectly still, a squirt of leak-finding dye near a suspected crack or fitting will get pulled into it visibly. The caveat is that it only works if you already know where to look and if the water is motionless, so it confirms a suspicion rather than producing one.
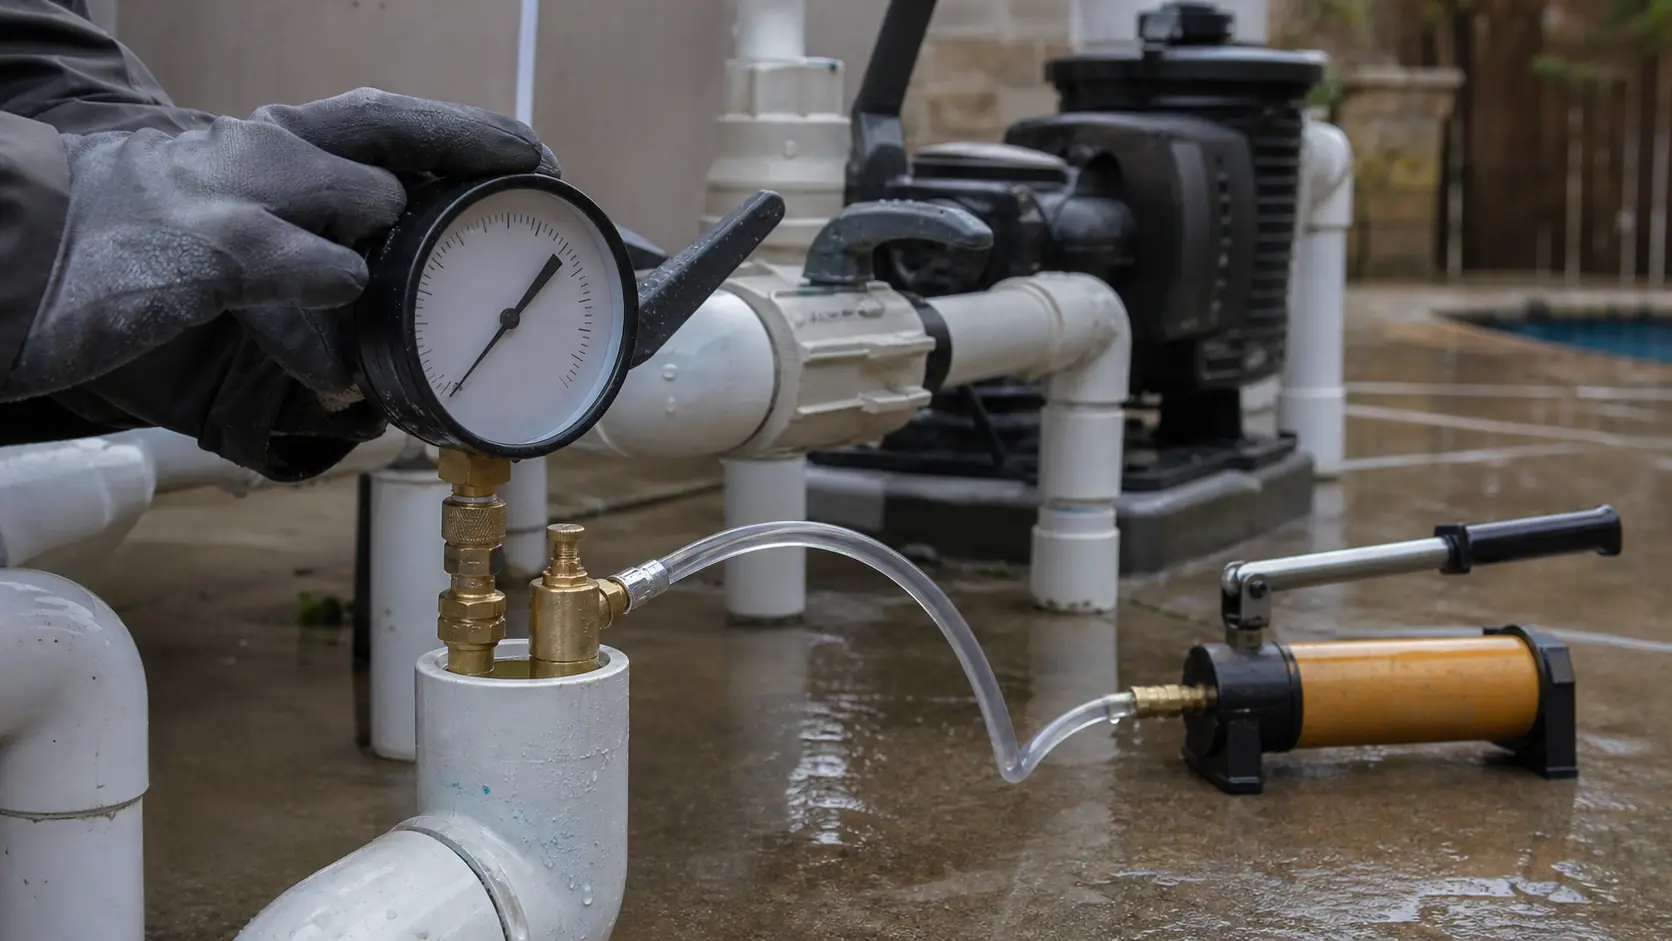
Past that point it becomes equipment work: pressure testing individual lines to find which one fails, listening equipment to locate a break under a deck, and pool-side inspection of skimmers, returns, and light niches. That’s what our leak detection service is for, and it’s worth saying plainly that arriving with your bucket test result already in hand makes it a shorter and cheaper visit.
Before you book it, it is fair to want the number first. Leak detection is priced as a diagnostic rather than as a repair. That makes the useful question not what it costs, but when paying to know beats carrying on guessing. What leak detection costs in DFW gives the going rate here, what the money buys, and the point at which topping the pool up is the more expensive habit.
One last piece of advice: don’t let this ride. A leak doesn’t stay the same size. Water moving through soil takes soil with it, which widens the path, which moves more water. The cheap version of this repair is the one done in the month you noticed it.