You have already established that the pool is losing water faster than the weather explains. The next question is worth a great deal of money: is the leak at the equipment pad, where it is usually a gasket and an hour of labor, or is it in the shell and the buried plumbing, where it is a detection call-out and a repair you cannot see? Two tests you can run this weekend separate them, and neither one needs equipment.
This article starts where leak or evaporation finishes. That post owns the bucket test and the arithmetic of normal summer loss here, and it is the right place to start if you are not yet certain you have a leak at all. If you are certain, read on: this one is about location, and location is what decides whether you are buying a gasket or a detection service.
Turn the autofill off first
An autofill quietly replaces whatever the pool loses, so the level holds steady while the meter runs and the ground under your deck gets soaked. Every test in this article is invalid with one connected. Close the valve, and if you cannot find it, turn the water off at the box for the duration of the test.
Test one: where does the water stop?
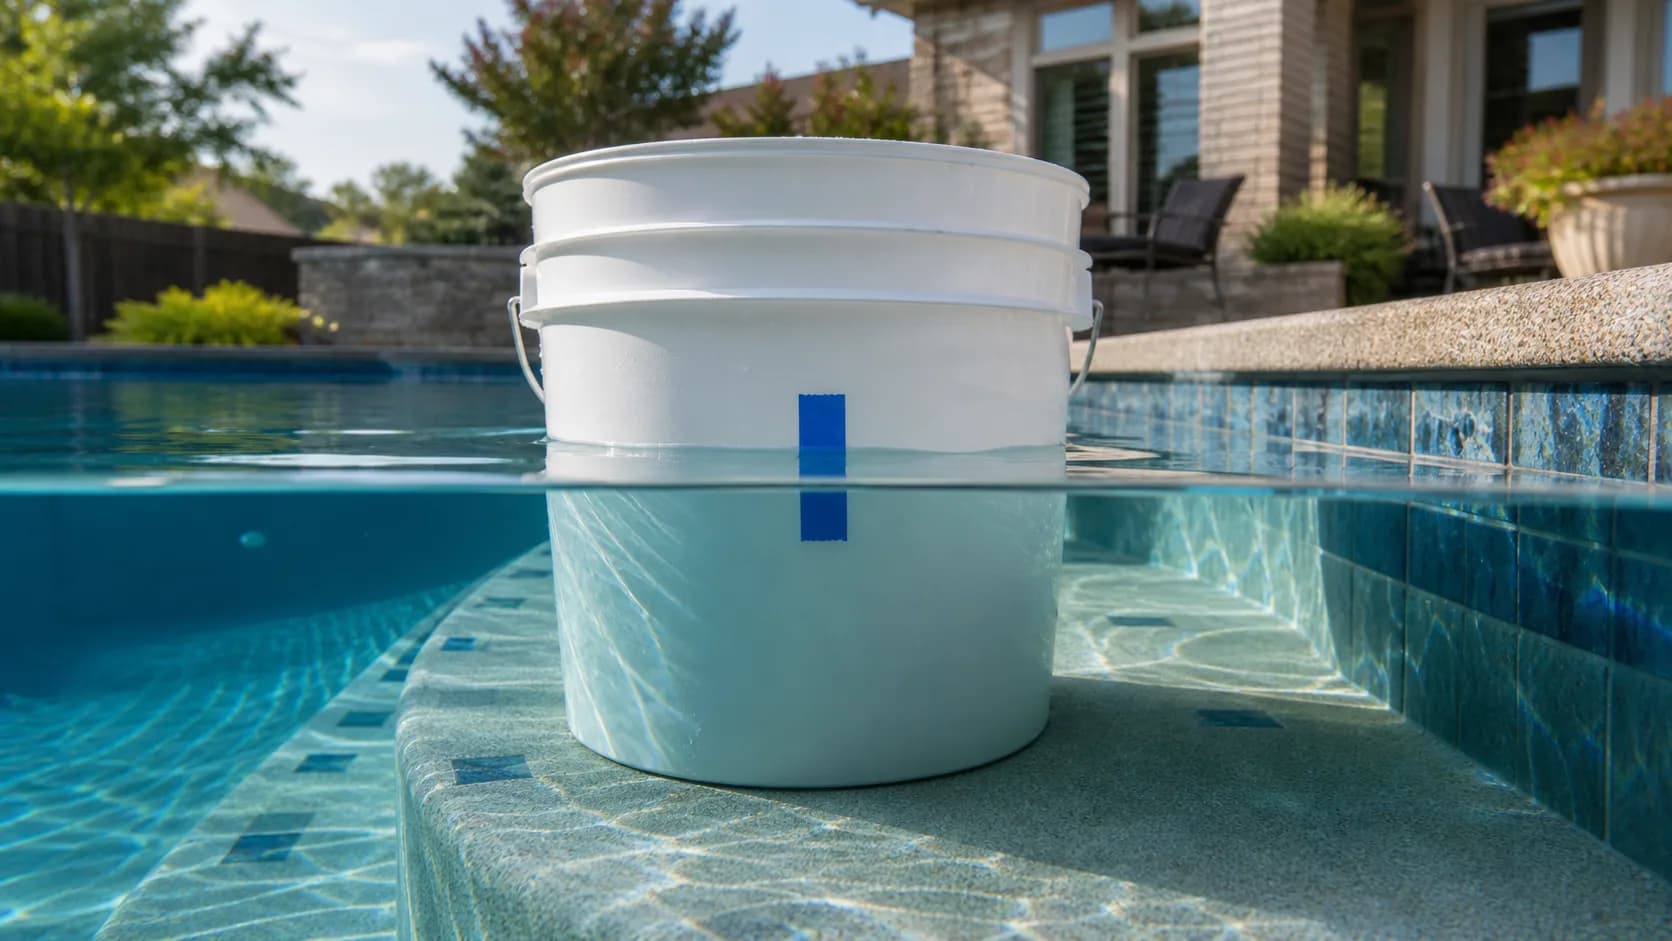
Let the pool find its own level. Turn the equipment off, stop topping it up, and leave it alone for a day or two. Water leaks out down to the height of the hole and then stops, which means the resting level is an address.
| Level stops at | Most likely source | Kind of job |
|---|---|---|
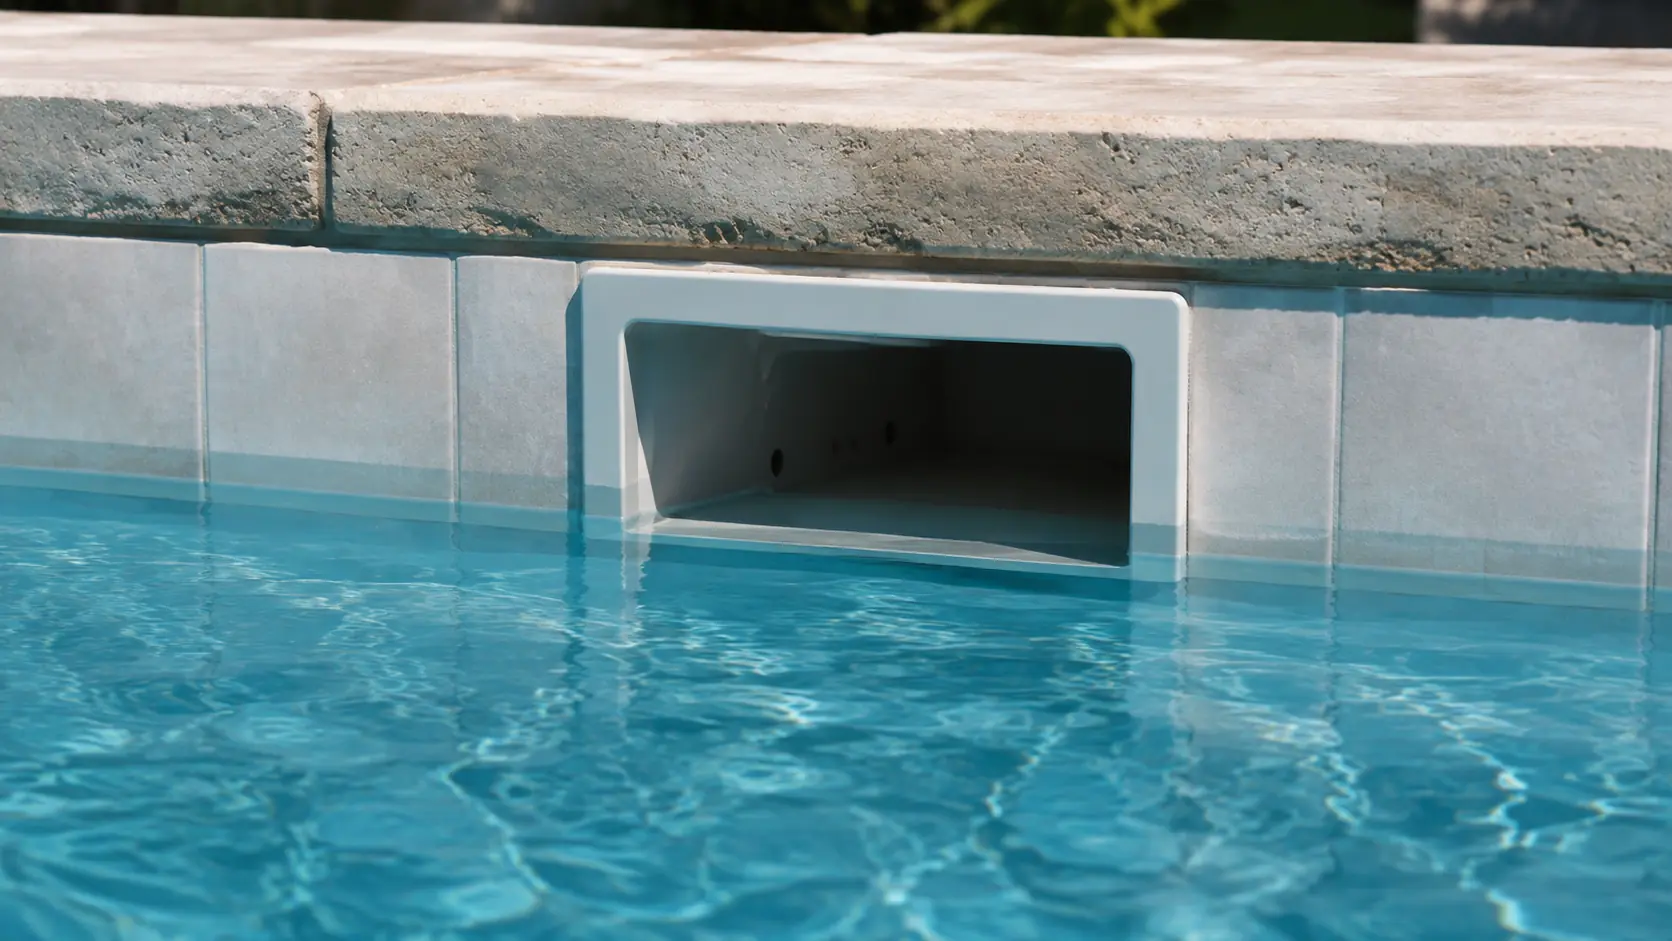
| Bottom of the skimmer mouth | The skimmer throat, the skimmer body, or the joint where it meets the pool wall | Common, and often repairable from the deck |
| Just below a return fitting | That return’s fitting or the line immediately behind it | Moderate, may need the fitting pulled |
| Just below the light | The light niche or the conduit running out of it | Moderate, and a known weak point |
| Level with a step or bench | A crack at the step, common in structures that have moved | Structural, needs a look |
| Settles low, below every fitting | A shell crack low in the pool, or the floor | The expensive end. Detection call |
| Never stops, empties toward the bottom | Main drain plumbing or a substantial structural crack | Stop and call somebody |
Take a photograph of the tile line the day you start and mark the level with a pencil on the skimmer throat or a piece of tape on the tile. Eyeballing an inch of drop across two days is genuinely unreliable, and one pencil line settles arguments a week later.
Test two: pump on against pump off
The plumbing under your deck is under suction on the way to the pump and under pressure on the way back. A hole behaves very differently in each state, which is what makes this comparison work.
Measure the loss over 24 hours with the pump running its normal schedule. Refill to the same mark, then measure again over 24 hours with the pump off entirely. Compare the two numbers.
| Result | What it points at |
|---|---|
| Loses much faster with the pump running | A pressure-side leak: return lines, return fittings, or the plumbing after the filter. Pressurized water is being pushed out through a hole that barely weeps when the system is off. |
| Loses at about the same rate either way | The shell, the skimmer, or a fitting at water level. Gravity is doing the work, and the pump is irrelevant to it. |
| Loses faster with the pump off | Less common. Suction-side plumbing that pulls air while running and drains water while idle. Air in the returns while the pump runs is the confirming sign. |
| Loses almost nothing either way, but you are still adding water | Suspect the equipment pad and the backwash line, both of which lose water without the pool level telling you where it went. |
If the last row is your answer, or if you see air bubbles at the returns while the pump runs, work through air in the returns before assuming the shell is cracked. Air getting in and water getting out are the same defect seen from two sides.
Walking the equipment pad
Now go and look, and look while the pump is running, because most pad leaks only appear under pressure. In August, a pressurized drip on hot concrete evaporates fast enough that the pad is dry again twenty minutes after the pump shuts off, which is why so many of these get missed by somebody who checked in the evening.
- The pump lid o-ring. The single most common leak on any pad. It dries out, flattens, and either lets air in or water out. It costs a few dollars and wants a smear of silicone lubricant, not petroleum jelly.
- The unions either side of the pump. Hand-tight plus a nudge, with a clean o-ring. Overtightening cracks the collar, which is a slow leak that appears weeks after somebody serviced the pump.
- The pump shaft seal. Water tracking out from between the wet end and the motor. This one matters beyond the water: it runs down into the motor bearings and turns a cheap seal into a motor decision if it is left.
- The filter clamp band and its o-ring. A weep at the seam of a cartridge or DE tank, usually a seated-wrong band or a hardened o-ring.
- The multiport valve on a sand filter. If water trickles out of the backwash line continuously, the spider gasket inside the valve has failed. The pool loses water day and night and the pad stays dry, which is the most confusing version of this whole problem.
- Heater headers and pressure switches. A wet trail underneath the heater is worth taking seriously, because water passing through a corroding copper heat exchanger also produces the teal staining that shows up on the plaster months later.
- Drain plugs and the pump basket housing. Winterizing plugs that never went back in tight are a classic spring find, covered from the other end in spring startup.
Austin’s Tip
Lay a sheet of dry cardboard flat under the pad and run the pump for an hour. Cardboard records a drip that concrete hides, and the wet spot tells you which side of the equipment to look at. It is the cheapest diagnostic tool on this page.
What each outcome tends to cost
The reason this diagnosis is worth an afternoon is that the two ends of it are not close together.
| Where | Typical work | Nature of the bill |
|---|---|---|
| Pump lid o-ring, unions, clamp band | Parts and an hour | The cheap outcome, and the most common one |
| Shaft seal, multiport spider gasket | Parts, teardown, reassembly | A half-day of labor, still a repair |
| Skimmer throat or a return fitting | Sealing or replacing the fitting | Middle ground, sometimes needs the deck opened |
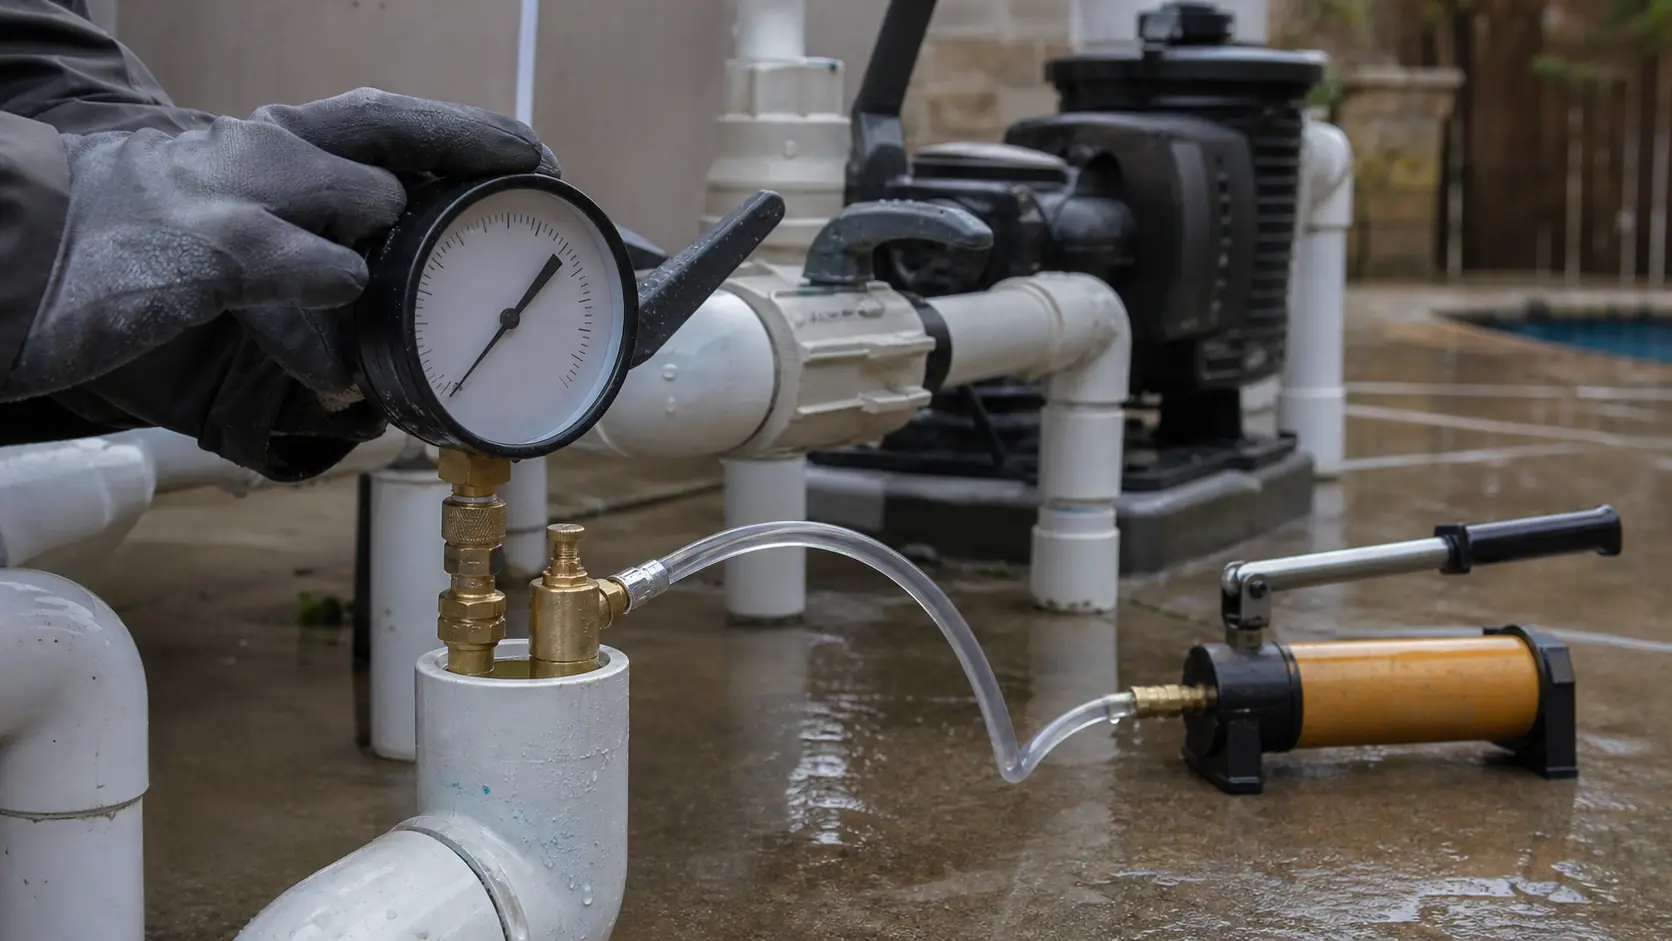
| Buried plumbing or the shell | Pressure testing, listening gear, dye, then excavation or a liner repair | Detection first, and the repair is quoted after |
Prices for the parts side of this sit in DFW repair costs, and the detection side has its own post at what leak detection costs here. What neither of those can do is tell you which one you need, which is what the last twenty minutes of reading was for.
Why a slow leak matters more in Collin County
Everywhere else, a leak is a water bill. On the expansive clay that most of Plano, Frisco, McKinney, and Allen is built on, a leak is also a soil problem. Houston Black, the Texas state soil, is a shrink-swell clay by definition: it swells when it takes on water and shrinks when it dries, and the ground under a deck that has been soaking for a season does not behave like the ground beside it. That is the mechanism behind cracked coping, tilted deck sections, and skimmers that pull away from the wall, and it is set out in full in what clay soil does to a pool here.
The uncomfortable part is that the same soil makes an undetected leak self-perpetuating. Water escapes, the soil moves, the movement opens the crack a little further. A pool losing an inch a day in June is not an emergency, but it is a clock, and it runs faster in a dry August than the water bill suggests.
Where to stop and call somebody
Stop and hand it over at any of these. None of them is a failure of nerve; they are all points where the next step needs equipment or a licensed trade.
- The level keeps dropping past every fitting. That is main drain or floor, and there is nothing further you can learn from the deck.
- You suspect the buried plumbing. Pressure testing a line is a specialist job with specialist gear, and guessing where to dig is how a small repair becomes a landscaping project.
- The leak is at or behind the light. Anything involving the niche or the conduit is electrical work around water, and the licensing boundary on that is real. It is covered in what licensed and insured means in Texas.
- The deck or coping has moved. A structural symptom outranks a plumbing one. Get eyes on it before you spend money on either.
The order that saves the most money
Confirm the loss is real, shut the autofill, let the pool find its own level, then run the pump-on against pump-off comparison and walk the pad with the system running. Four steps, two days, no purchases. In our experience a meaningful share of pools that get booked for leak detection turn out to have a hardened o-ring or a failed spider gasket, which is a very expensive way to buy a two-dollar part.
The other thing worth saying is that the pad is the part somebody should be looking at every week anyway. A shaft seal that started weeping in June is obvious in July and has killed a motor by September, and catching it is a thirty-second glance at a running pump. That glance is part of weekly service, and it is the reason the equipment check is on the visit list rather than sold as an extra.